Character designers
Use a turnaround sheet or portrait in Vidu Ai to test the same character in different poses and locations.
For a different starting point, [vidu image to video] keeps motion focused on one supplied image.
vidu image to videoReference workflow
Turn reference images into short, directed clips while preserving recognizable people, products, and visual styles. This reference to video ai free guide explains what to import and how to avoid common failures.
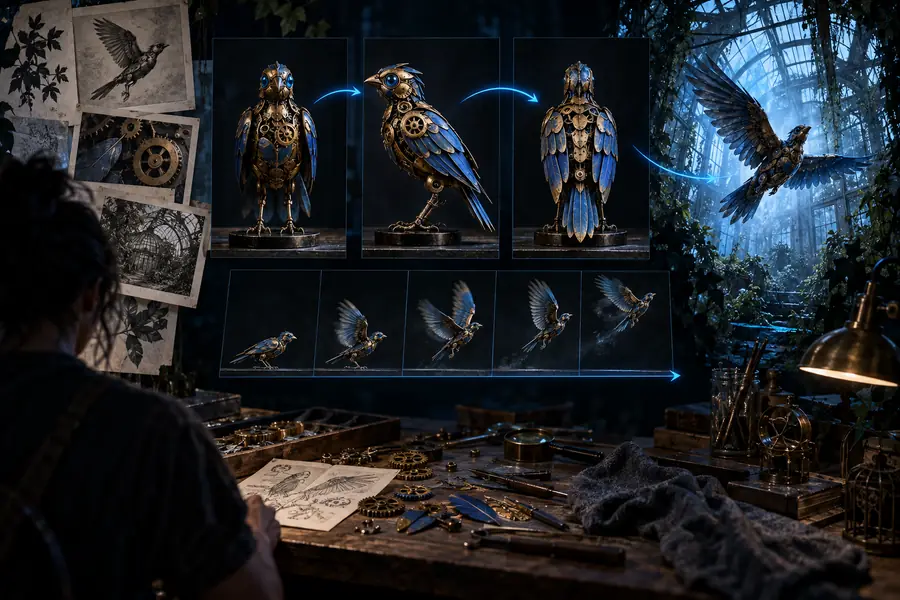
Best-fit users
Reference-driven generation is useful when continuity matters more than inventing a new subject from text alone.
Use a turnaround sheet or portrait in Vidu Ai to test the same character in different poses and locations.
For a different starting point, [vidu image to video] keeps motion focused on one supplied image.
vidu image to videoGive Vidu Ai a clean product photo and describe a short launch shot, such as a rotating bottle on a studio table.
For fully written concepts without a source frame, [vidu ai text to video] starts from a scene description.
vidu ai text to videoImport a visual reference, then specify camera movement, setting, and action to explore a shot before production.
The result gives the team a visual direction while leaving room for storyboard revisions.
vidu image to videoUse a recurring avatar, outfit, or prop reference in Vidu Ai for short vertical concepts and visual hooks.
Consistent references make a series easier to recognize from clip to clip.
vidu ai text to videoWorkflow
The process is simple: provide a strong visual anchor, describe the change, then inspect the generated clip for identity and motion drift.
Upload a well-lit image with the subject visible and unobstructed. A single dominant person or object usually gives the model a cleaner anchor.
State what moves, where it happens, and how the camera behaves. Keep the prompt focused instead of combining several unrelated shots.
Check the face, silhouette, colors, hands, and object details. If they drift, simplify the action or replace the reference with a stronger image.
Input guide
These practical comparisons help you decide whether an image is ready for a reference-led Vidu Ai generation.
Stronger reference
One clear subject fills a useful portion of the frame.
Riskier reference
Subject is tiny, cropped, or hidden behind other objects.
Stronger reference
Even lighting with visible facial or product details.
Riskier reference
Heavy shadows, glare, or strong color casts.
Stronger reference
A readable pose that shows the main silhouette.
Riskier reference
Extreme foreshortening or overlapping limbs.
Stronger reference
Simple background that separates the subject.
Riskier reference
Busy scene with several competing focal points.
Stronger reference
One action, setting, and camera movement.
Riskier reference
Multiple actions, scene changes, and style shifts together.
Stronger reference
Specific details such as coat color or logo are named.
Riskier reference
The prompt asks for an exact identity without visual support.
Visual check
The source frame establishes identity; the prompt supplies movement, setting, and timing. Compare the input and output for continuity rather than expecting a pixel-perfect copy.

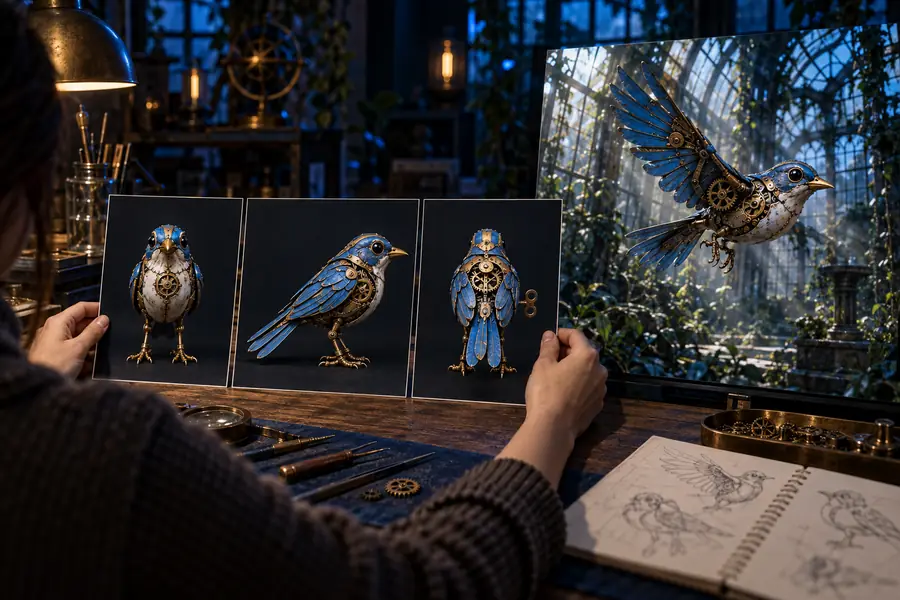
Look first at identity, silhouette, and key colors; then judge the camera movement and overall scene.
Know the limits
A reference route is powerful, but it cannot repair every source image or guarantee every fine detail through motion.
A small or compressed source may produce soft faces, unstable textures, or weak product edges.
WorkaroundUse the clearest original image available and avoid screenshots where possible.
Several people, similar objects, or overlapping subjects can make the output switch between visual anchors.
WorkaroundCrop to one main subject and remove distracting background elements before importing.
Generated motion can alter lettering, symbols, and tiny product markings even when the overall object remains recognizable.
WorkaroundAdd branding in an editor after generation, or use a clean cutaway instead of relying on generated text.
Fast interactions, hidden hands, and several camera moves may change clothing, anatomy, or object shape.
WorkaroundUse shorter prompts, one primary action, and multiple passes for complicated sequences.
Planning tool
Set the number of reference clips you plan to review and estimate a simple first-pass workload. This is a planning aid, not a platform guarantee.
Format evolution
Reference workflows grew from manual compositing toward prompt-guided generation, making visual continuity part of the creative brief.
Creators collected photographs, sketches, and product frames to guide a human animation or editing process.
Image-to-video tools began adding camera movement and simple subject motion, reducing the need to animate every frame manually.
Creators could combine a supplied visual identity with written action, setting, and camera instructions.
The practical workflow now focuses on testing several concise variations, checking continuity, and finishing details in an editor.
FAQ
Answers to common questions about using a reference image with an AI video workflow.
Reference to video AI uses an uploaded image or visual reference together with a written instruction to generate a short video. The reference helps guide the subject’s appearance, while the prompt describes action, setting, and camera movement.
Some tools offer a free way to test reference-led video generation, although availability, output limits, and access rules can change. Check the current tool interface before planning a larger batch of clips.
Use a clear, well-lit image with one main subject, visible details, and limited background clutter. Front or three-quarter views are usually easier to interpret than heavily cropped, blurry, or obstructed images.
The model may lose details when the source is small, the action is complex, or the prompt requests too many changes at once. Try a simpler action, a cleaner reference, and a shorter camera description.
It may preserve the overall shape and color of a product, but small lettering and logos can change during generation. For accurate branding, add text or marks during post-production.