Concept creators
Turn a short visual idea into a moving scene with a clear subject, setting, and camera direction.
You get a fast first draft that can guide storyboards, pitches, or mood exploration.
vidu onlineWorkspace guide
Vidu Studio AI brings prompt, image, and reference-based video creation into one organized workflow. Start with a clear idea, choose the right input, and review the result before exporting.
Best-fit users
The studio is most useful when your creative goal is specific and you can provide an input that matches it. These common starting points show where the workspace fits.
Turn a short visual idea into a moving scene with a clear subject, setting, and camera direction.
You get a fast first draft that can guide storyboards, pitches, or mood exploration.
vidu onlineBegin with a still image and describe the motion, atmosphere, or camera movement you want to add.
The original visual direction remains the anchor while the scene gains movement.
vidu onlineUse a consistent reference image when the same person, character, or object needs to remain recognizable.
Reference-led generation gives the workflow a stronger visual starting point than text alone.
vidu onlineCreate short visual clips for intros, transitions, explainers, or experimental posts without assembling every frame manually.
You can compare several directions before choosing a clip for editing or publishing.
vidu onlineChoose your input
Vidu Studio AI supports several ways to begin. The best option depends on whether your priority is flexibility, visual consistency, or control over the starting frame.
Prompt-led route
A written description of the scene
Reference-led route
An uploaded image or visual reference
Prompt-led route
Exploring a new concept from scratch
Reference-led route
Extending or animating an existing visual
Prompt-led route
Words define the subject, setting, and action
Reference-led route
The reference anchors appearance and composition
Prompt-led route
Write a focused prompt with one main action
Reference-led route
Choose a clear image with the subject easy to identify
Prompt-led route
Vague wording can produce an unfocused scene
Reference-led route
A cluttered or low-quality image can weaken consistency
Prompt-led route
Add camera movement, lighting, and pacing details
Reference-led route
Describe only the motion or transformation you want
Prompt-led route
Check whether the model interpreted the concept
Reference-led route
Check whether identity and important shapes remain stable
The workflow
A reliable studio session is easier when you separate preparation, generation, and review instead of trying to solve everything in one prompt.
Choose text, image, or reference input. State the subject, action, setting, mood, and camera movement in plain language. Keep the first request focused on one visible moment.
Submit the prompt or source image, then let the workspace produce an initial clip. Treat this version as a direction check rather than a final shot.
Look for subject consistency, natural motion, framing, and unwanted changes. Adjust one variable at a time so you can tell which instruction improved the result.
Know the edges
A studio workflow can organize the process, but it cannot guarantee perfect motion, identity, or interpretation on every attempt.
If the request contains several competing actions, the generated clip may lose the main subject or choose an unexpected sequence.
WorkaroundDescribe one primary action first, then add only the setting and camera details that support it.
Faces, hands, logos, and fine product details may shift between frames, especially when the movement is complex.
WorkaroundUse a strong reference image and keep the requested motion simple and visible.
Fast interactions, crowded scenes, and contact between objects can create warped motion or inconsistent proportions.
WorkaroundShorten the action, reduce the number of moving subjects, and test a calmer camera direction.
Dark, blurry, cropped, or cluttered reference images give the workflow less reliable visual information.
WorkaroundStart with a well-lit image where the important subject is clear against its background.
Quality check
The difference between a useful first pass and a frustrating one usually appears in the source image and the specificity of the motion request.
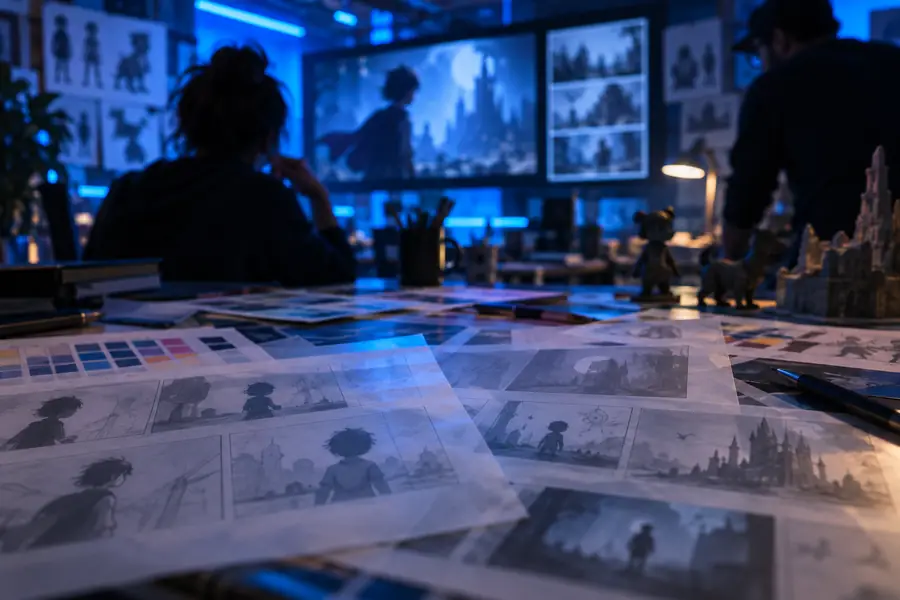
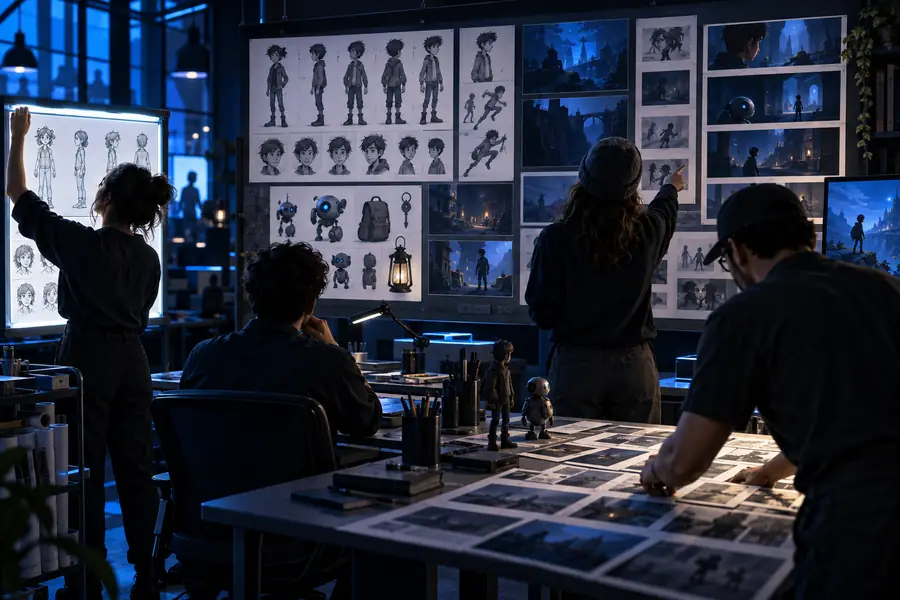
A clear subject and one deliberate action usually produce a more useful review pass.
Before you begin
Prepare these basics before opening a studio session. Required items support a workable generation; optional items make comparison and refinement easier.
Define the main subject and what should happen.
Choose the input route that matches your goal.
Avoid asking for several unrelated actions at once.
Useful when the clip is intended for a particular channel.
For example, identity, hands, logos, framing, and physics.
At a glance
The studio workflow can be understood through three practical entry points and three repeatable stages: prepare, generate, and review.
Common questions
These answers address the practical questions people ask when searching for Vidu Studio AI and Vidu Studio.
Vidu Studio AI is a workspace for creating video from written prompts, images, and visual references. It helps organize the path from an initial idea to a generated clip and a review pass.
You begin with a prompt, image, or reference, describe the motion or scene you want, and submit the request for generation. Afterward, review the clip for subject consistency, framing, and natural movement before refining it.
Access conditions can change, so check the current experience when you open the tool. The safest approach is to review any visible usage rules or limits before starting a longer generation session.
It can support concept exploration, image animation, reference-led scenes, character ideas, product visuals, and short social clips. Results are strongest when the request has one clear subject and one primary action.
Vidu Studio describes the organized creation workspace and its workflow, while vidu online is the broader browser-based route for accessing the tool. Use the online route when you want to move directly from an idea to the generation experience.