Write one focused prompt
Describe the subject, action, setting, camera movement, mood, and visual style in that order. Keep the first attempt simple so you can tell which instruction affected the result.
Beginner tutorial
This practical guide shows how to use vidu ai for beginners, from preparing an idea to reviewing and refining the first generated clip. Follow the sequence once, then reuse it for new concepts.
Core workflow
Use the same three-part loop each time: define the visual, generate a short draft, then inspect the result before making changes.
Describe the subject, action, setting, camera movement, mood, and visual style in that order. Keep the first attempt simple so you can tell which instruction affected the result.
Use text for a completely new scene, or add an image when composition, character appearance, or a product design needs to stay close to a reference.
Watch the full clip for motion, identity, framing, and unwanted details. Change one variable at a time, then generate another draft with a more precise prompt.
Before you begin
A little preparation makes Vidu AI easier to control. You do not need editing experience, but you do need a clear visual goal and a manageable first test.
Name the subject, action, place, and mood.
Avoid combining several unrelated scenes in one request.
Use a clear image with the main subject easy to see.
Generation is only the midpoint; inspection catches most issues.
Decide whether the result is for a vertical post, landscape video, or a simple test.
Related workflows
Once the basic loop feels comfortable, these focused guides help you choose the right input and output path.
Set expectations
Beginners usually get better results by simplifying the request rather than adding more adjectives. These limits are normal parts of AI video generation, not signs that your idea is unusable.
When one request includes several subjects, locations, camera moves, and plot beats, Vidu AI may blend them or skip important details.
WorkaroundStart with one subject and one action. Add a second visual instruction only after the basic motion is stable.
Faces, hands, logos, text, and small product features can change between frames or across new drafts.
WorkaroundUse a clear reference image, keep the shot short, and describe the important feature directly without asking for many competing details.
A strong composition can still animate with awkward movement, sudden camera changes, or a subject that appears to slide through the scene.
WorkaroundRequest one simple motion, such as a slow push-in or gentle turn, and avoid combining it with multiple complex actions.
Vidu AI creates a clip from your prompt; it does not automatically understand the complete sequence, pacing, or continuity of a longer production.
WorkaroundGenerate short shots separately, keep useful drafts, and assemble the selected clips in a video editor afterward.
Prompt progress
The difference between a weak and useful first draft is often a clearer subject-action-setting combination, not a longer paragraph.
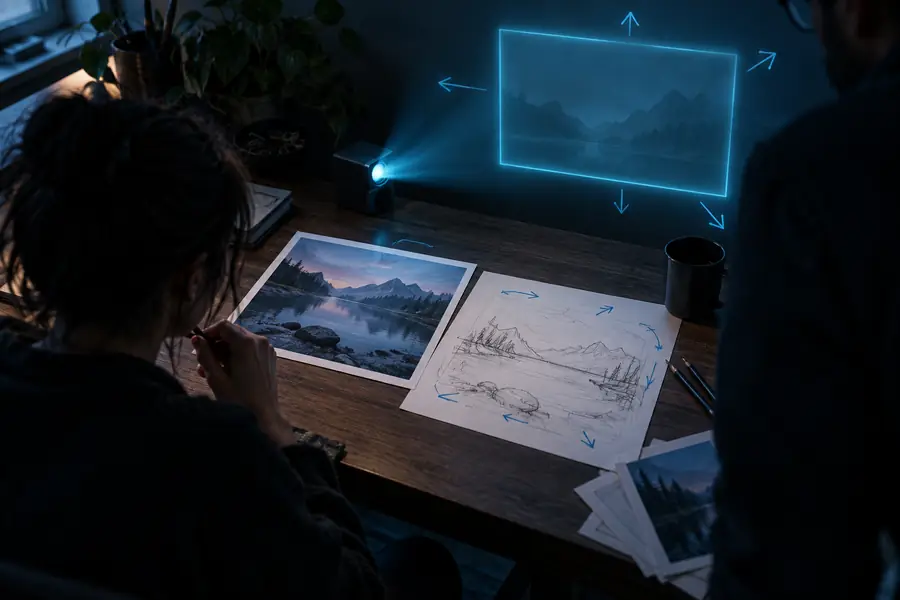
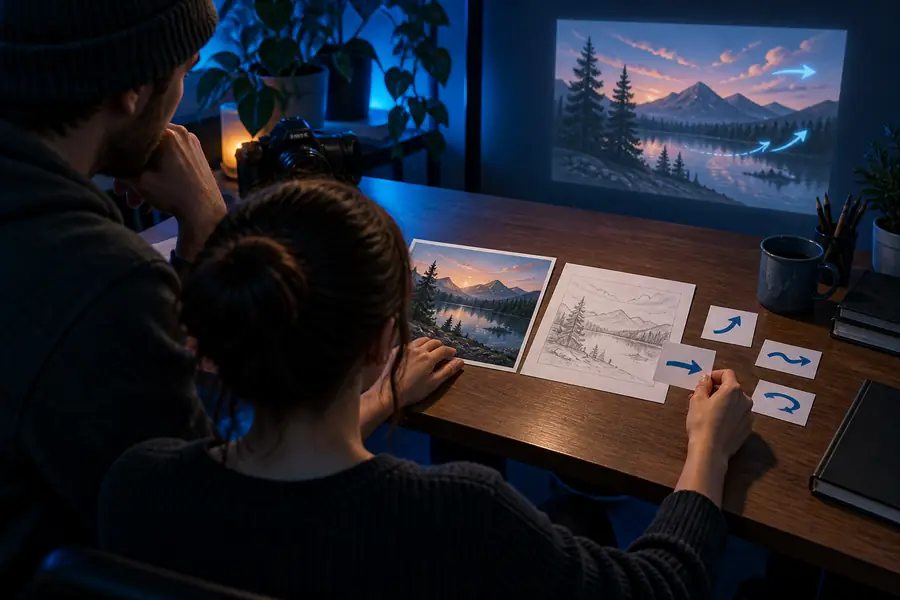
Add one action, one setting, and one camera cue before adding style.
Practice path
Treat your first session as a small experiment. A staged workflow gives you useful feedback at each point instead of asking one generation to solve everything at once.
Write a single sentence naming who or what is on screen, what it does, and where the action happens. This gives Vidu AI a stable visual anchor.
Use a restrained camera instruction such as slow pan, gentle push-in, or locked-off shot. Check whether the movement works before adding cinematic language.
If the result is close, preserve the prompt and alter only the weak part: framing, speed, subject action, or lighting. This makes comparisons easier.
Reuse the same character description, setting details, and visual tone across separate prompts. Generate short shots instead of forcing a complete story into one clip.
Keep the draft with the clearest motion and strongest subject identity, even if another version has more dramatic effects. A readable shot is easier to edit and share.
Quick answers
These answers address the beginner and free-use questions that most often come up before a first Vidu AI session.
Open the Vidu AI creation workflow, enter a short prompt or provide an image, and submit a small test generation. Availability and usage conditions can change, so review the current options shown in the tool before starting a larger project.
Yes. Start with one subject, one action, and one setting rather than trying to describe an entire film. The easiest way to learn Vidu AI is to compare small prompt changes and keep the instructions concrete.
Choose a simple scene with visible movement, such as a person walking, an object turning, or a camera slowly moving toward a landscape. Simple motion makes it easier to spot what worked and what needs refinement.
Use text when you want Vidu AI to invent the scene from the description. Use an image when the composition, subject appearance, or product shape matters and you want a more controlled starting point.
Watch for one specific weakness, then revise only that part of the prompt. Clarify the action, simplify the camera movement, or add a useful visual constraint instead of rewriting everything at once.